Day two of spring break included baking two batches of cookies and prepping my herb bed. I really wanted to build and plant an herb bed last year, but due to the sheer overwhelmingness of summer I didn't manage. I wanted to try this quick fix composting trick this year, but I've been lazy and I'm not sure it's going to have enough time to really work. Now, without further ado, HERE is a pictorial blog about my herb bed prepping.
.JPG) |
| This is the wild mess that is growing beside our front porch , which must be groomed into submission before I can even think about doing my garden! |
.JPG) |
| After clearing all of the weeds, I turned all the dirt over, and cleared rocks and twigs from the area. |
After I finished the major prep work I started building my quick and easy compost set up. I'm really nervous about this part, and I want to run outside every 15 minutes or so and peek under the tarp** to see if things are working, but I can't or it really won't work!!!
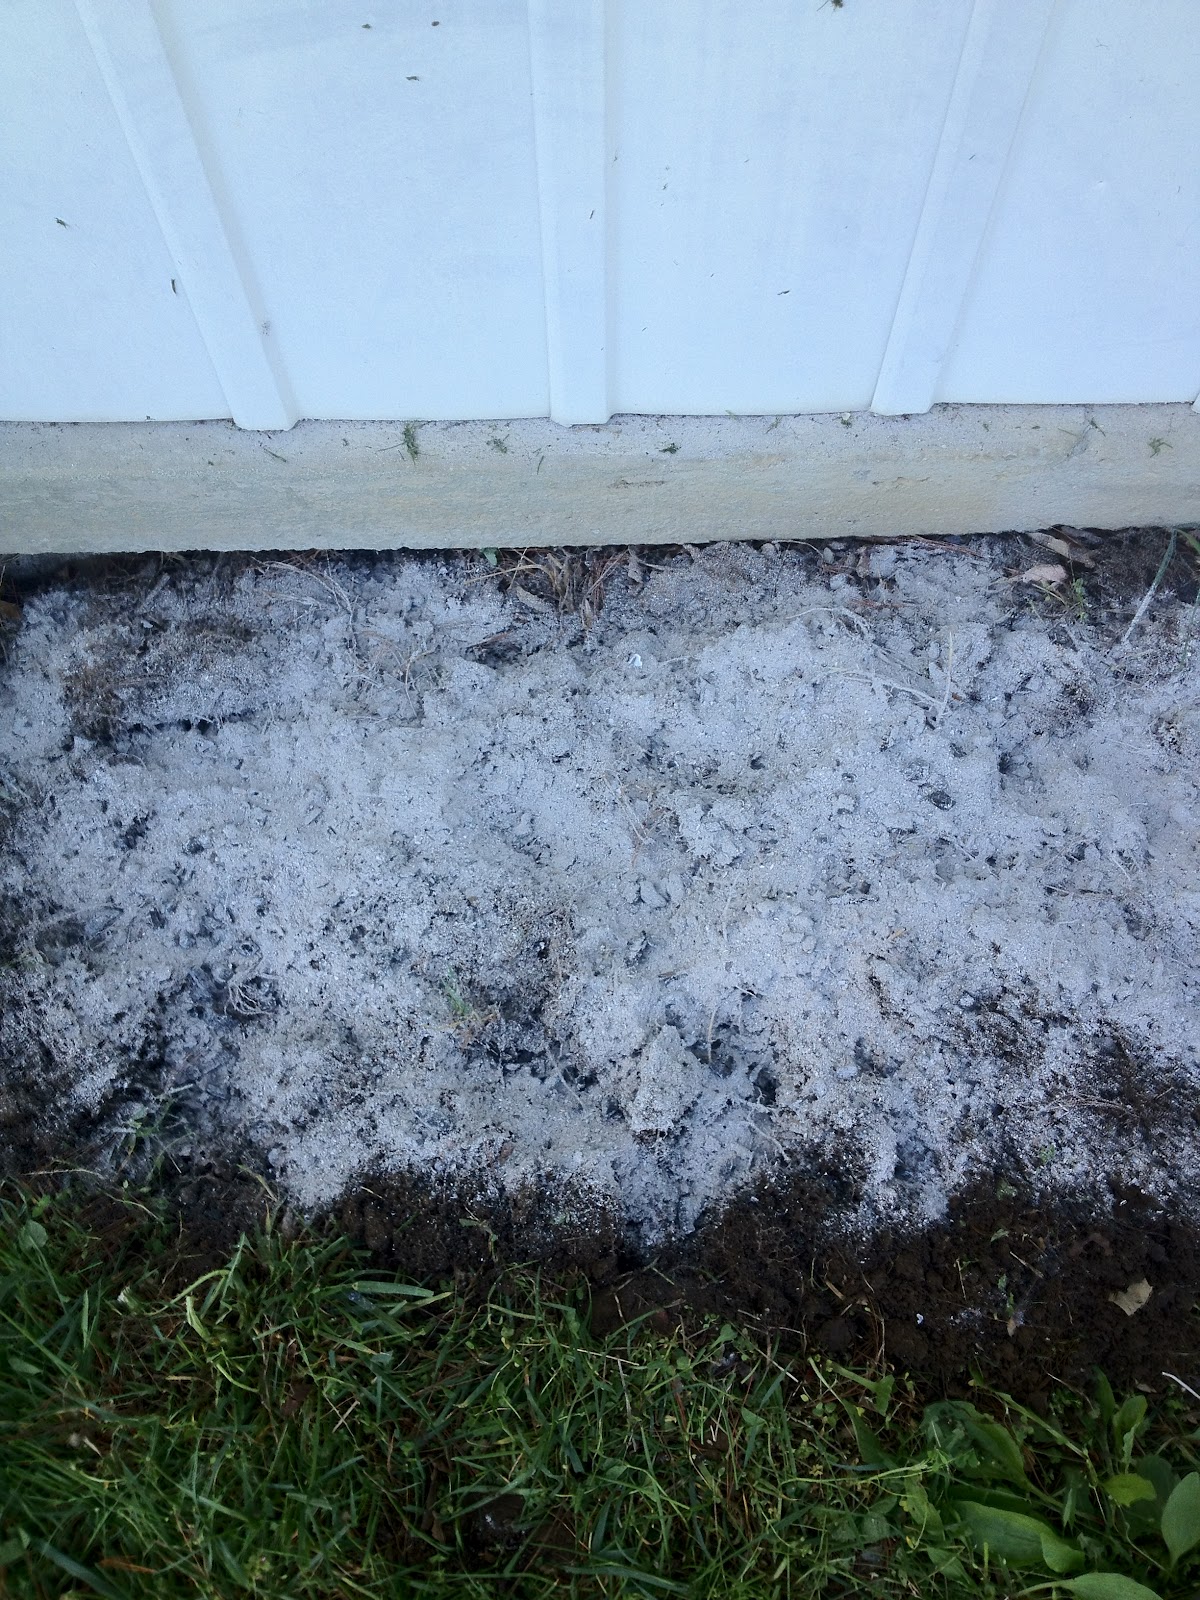 |
| Step One: I used ashes from our wood stove as the base of my compost. Ashes add various nutrients to the soil for healthier plants! |
 |
| Step Two: Luckily Doda mowed our yard today so I had fresh grass clippings to add for the first "green" layer. Green layers are what add nitrogen to your compost/soil and are also essential for decomposition. |
 |
| Step Three: The "brown" layer consisted of dried pine needles. Brown layers add carbon to your soil, which helps with decomposition. These break down really easily and have made my regular compost heap work really well!*** |
.JPG) |
| I added dried bread to my mini pile to help everything start to break down. This is just an added step so that things stew and the bugs are attracted to my compost dump. |
 |
| Last I covered everything in a layer of grass to add more "green" material to break down and also to discourage animals from sniffing out the bread and disturbing everything.**** |
 |
| After I added all the layers to my herb bed, I used an old black plastic trash bag to cover everything. This ensure that heat and water are contained and it also discourages animals. |
If you are interested in starting a compost heap, this is a great website I've found that details different styles of composting,****** has resources, and even talks about how much of each type of material you should add to your own compost heap! I'm a huge fan of being green whenever possible, and composting is a really easy, and beneficial way to be green. And if you garden (vegetable, flower, or container) the composted material really improves the quality of your produce without adding harmful chemical agents to your plants!
*Get excited!
**And by "tarp" I mean "black plastic trash bag"
***I have no idea why this picture imported upside down, lets just roll with it!
****Another photo that refuses to orient correctly. No idea why
*****I was lucky that we had massive storms all week so my soil and the pine needles were both pretty moist. If you're trying this and everything is dry make sure you lightly water your heap before covering it.
******My dream is to start a worm compost, but it just isn't possible at this point in my life. Maybe when I have kids I'll do one in a glass aquarium so they can watch the worms break down the organic materials.
No comments:
Post a Comment